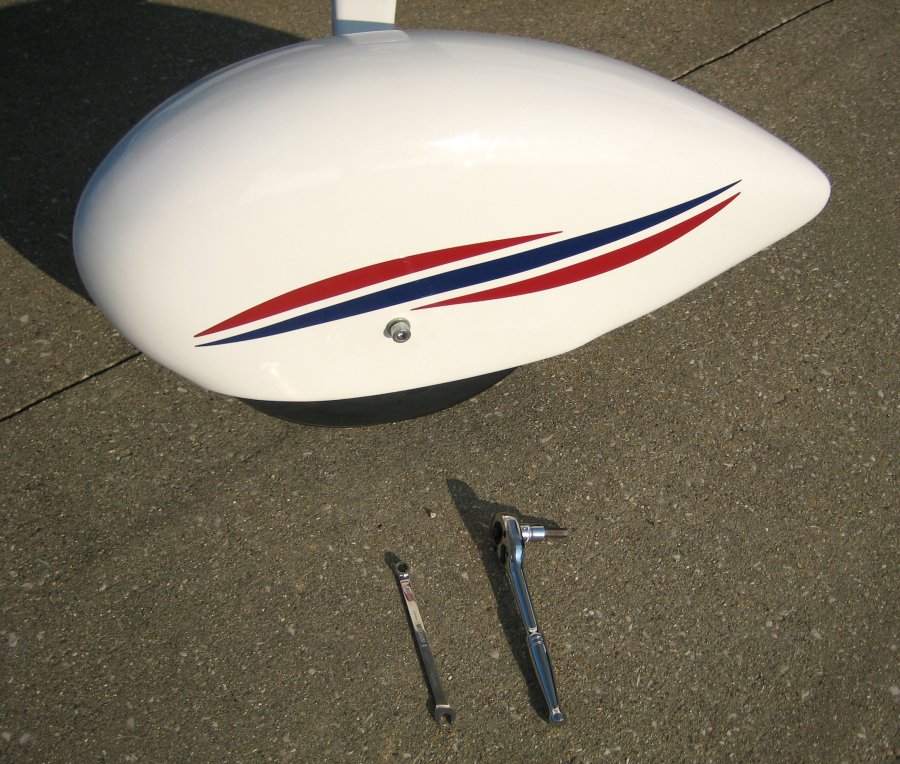
 tools required: 8mm Allen wrench (hand wrench or 8mm Allen socket and ratchet as shown in our photos) and 8mm wrench (or Phillips screwdriver)
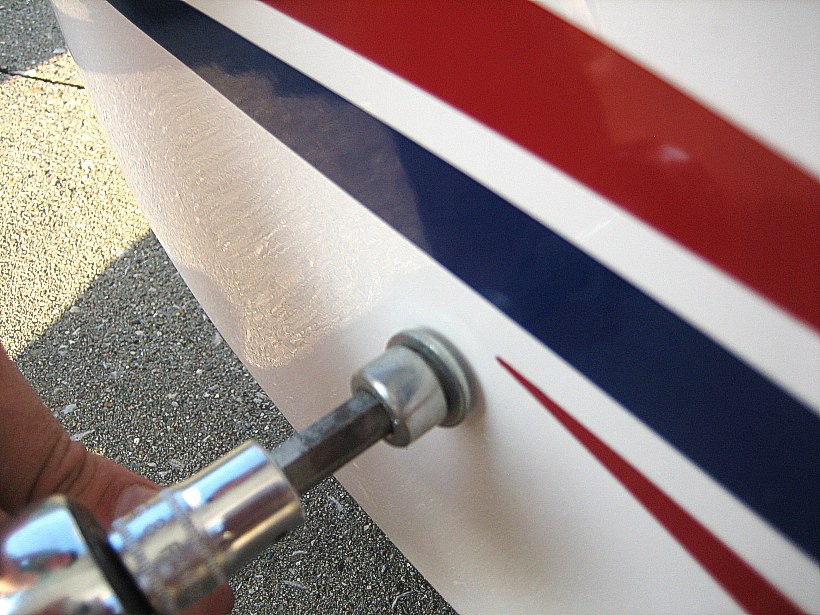
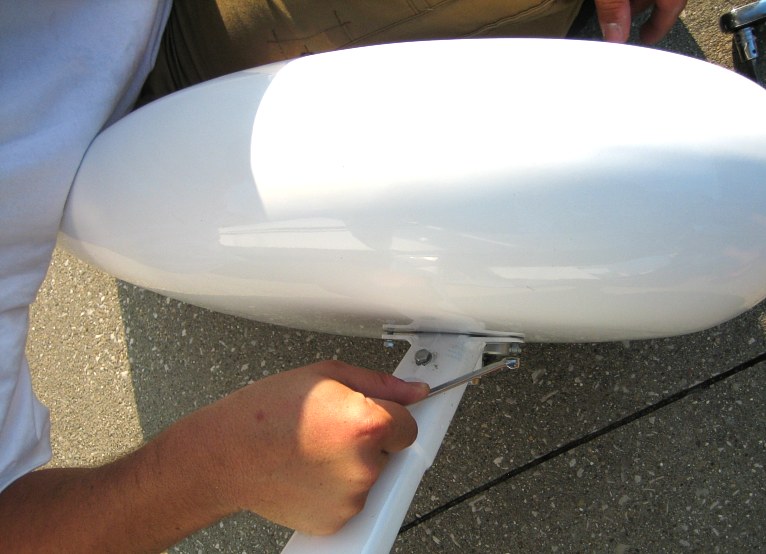
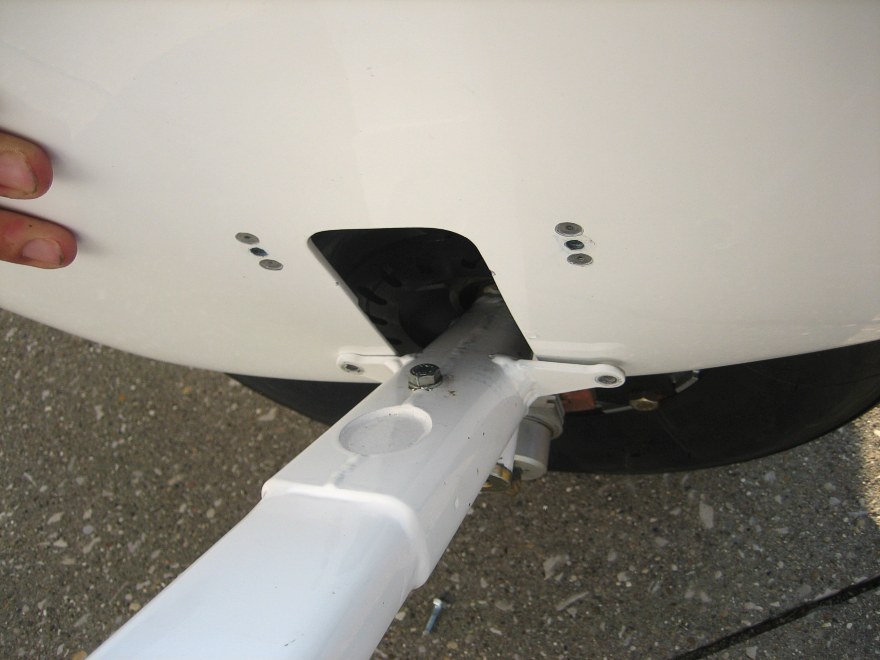
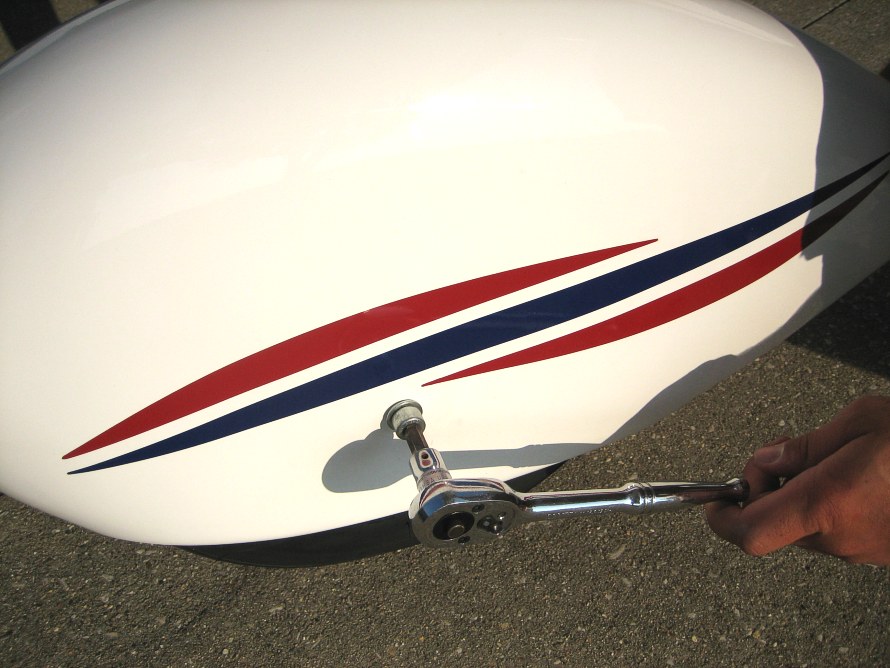 loosen and then remove the large Allen head bolt (with its spacer and two washers)
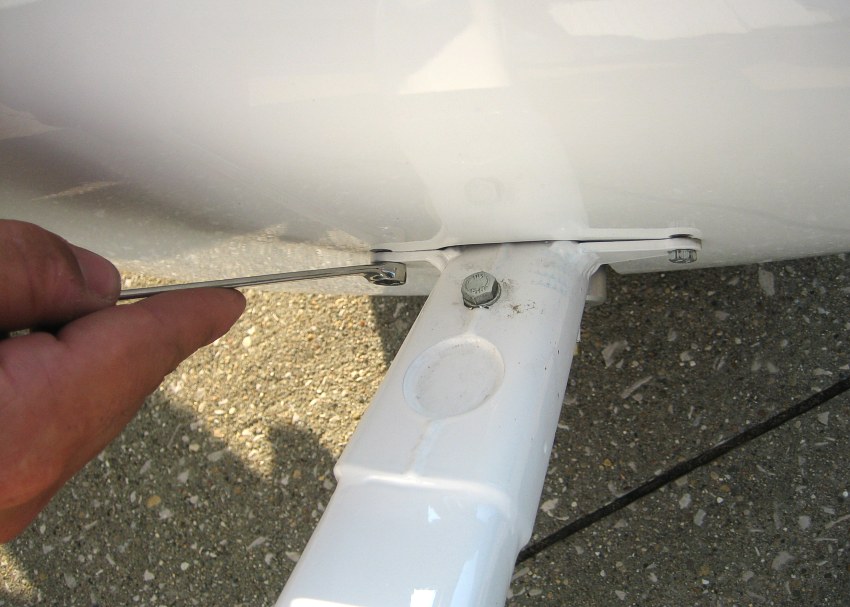 loosen the two small inside bolts (or sometimes Phillips head screws) and then remove both
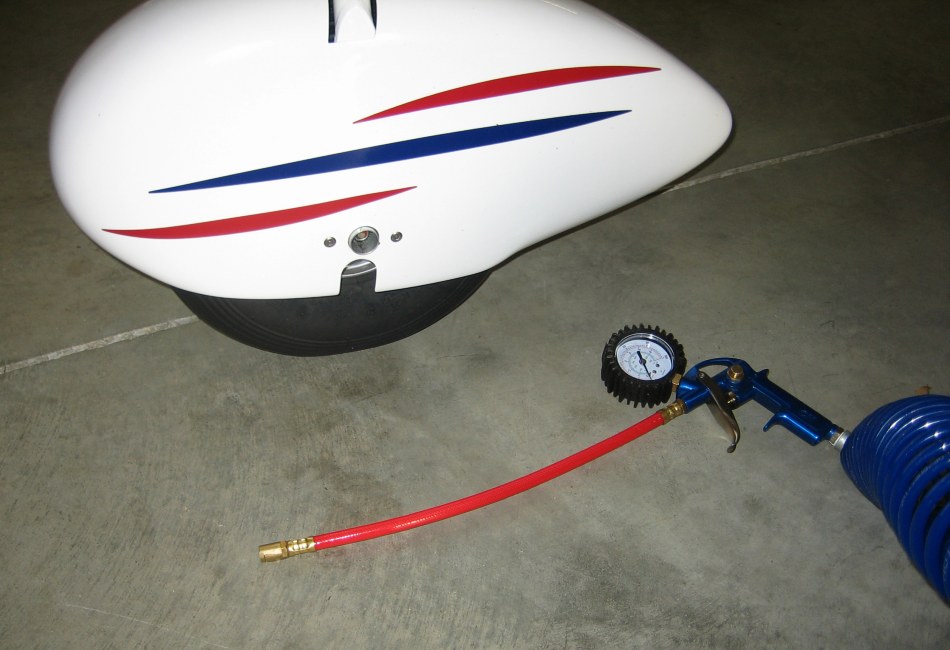
Slide the wheel pant up and off. Now you can check the tire pressure or do other maintenance as needed.
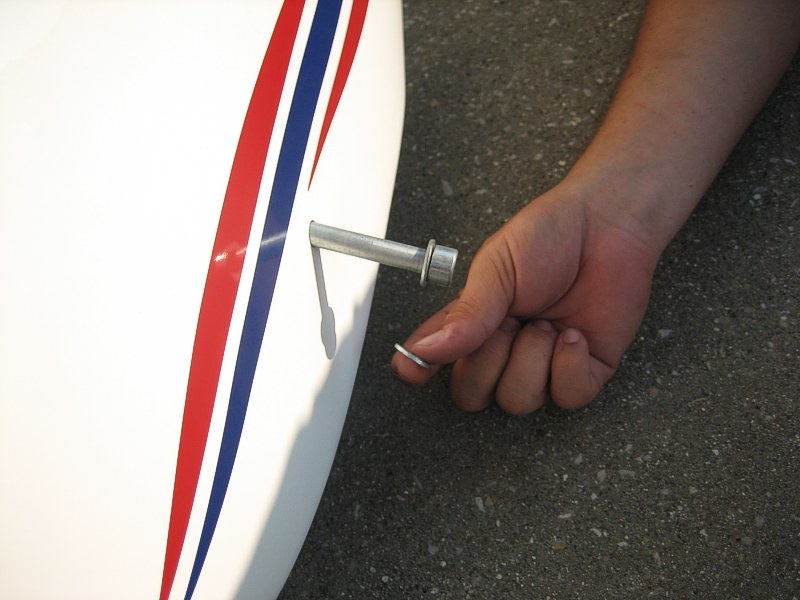
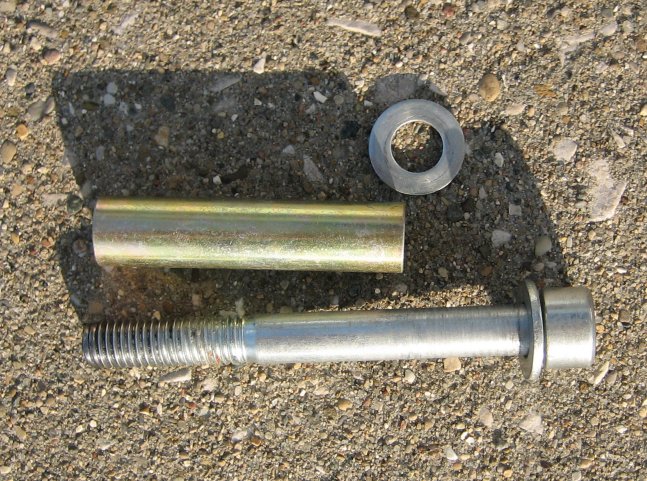 Allen head bolt, two washers and spacer
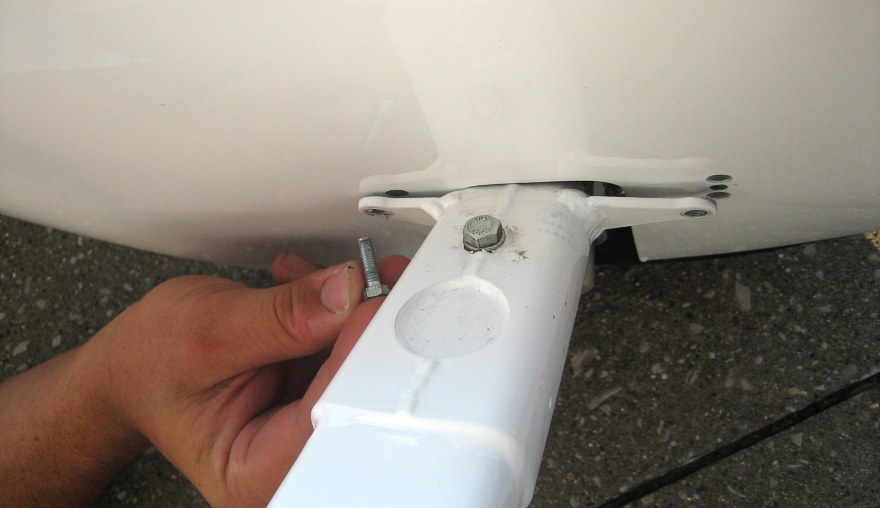
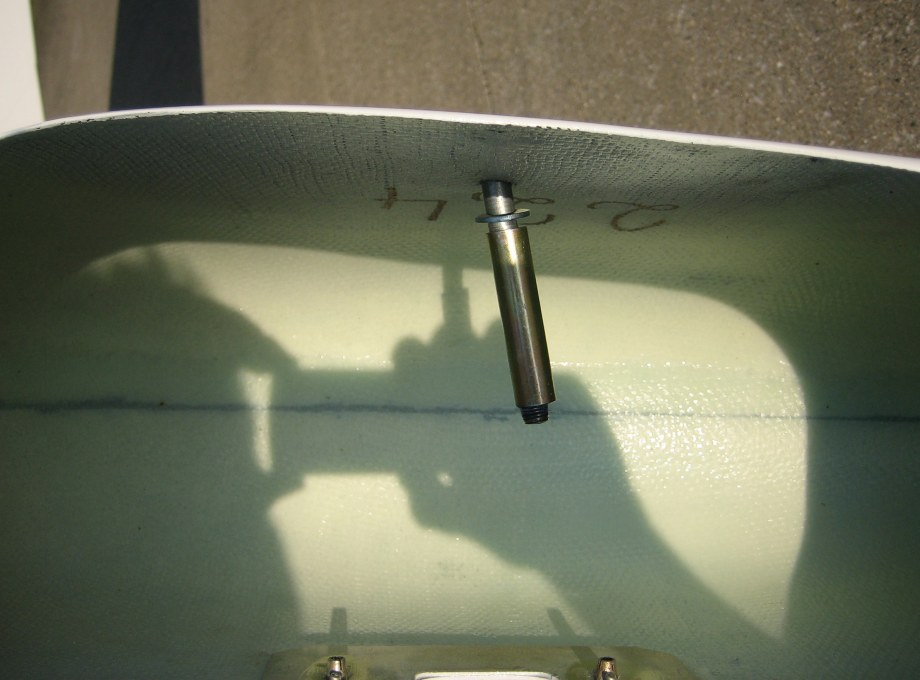 photo showing how the washers go on either side of the fiberglass (no washer goes between the end of the long spacer and the threaded axle)
REINSTALLING THE WHEEL SPAT
 slide the wheel spat down into position
 reinstall the two small bolts (or Phillips head screws) on the inside of the wheel pant and tighen both fully -- this will hold the wheel pant in position
so that it will be easy to install the Allen head bolt
reinstall the two small bolts (or Phillips head screws) on the inside of the wheel pant and tighen both fully -- this will hold the wheel pant in position
so that it will be easy to install the Allen head bolt
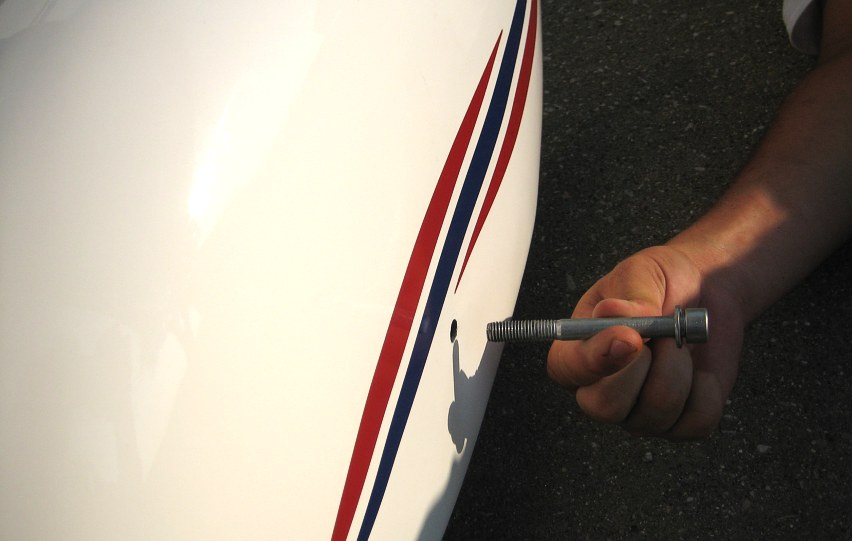 insert Allen head bolt (with washer under head) a short way into the hole
 then, reach up under the wheel pant and put the other small washer on the bolt...
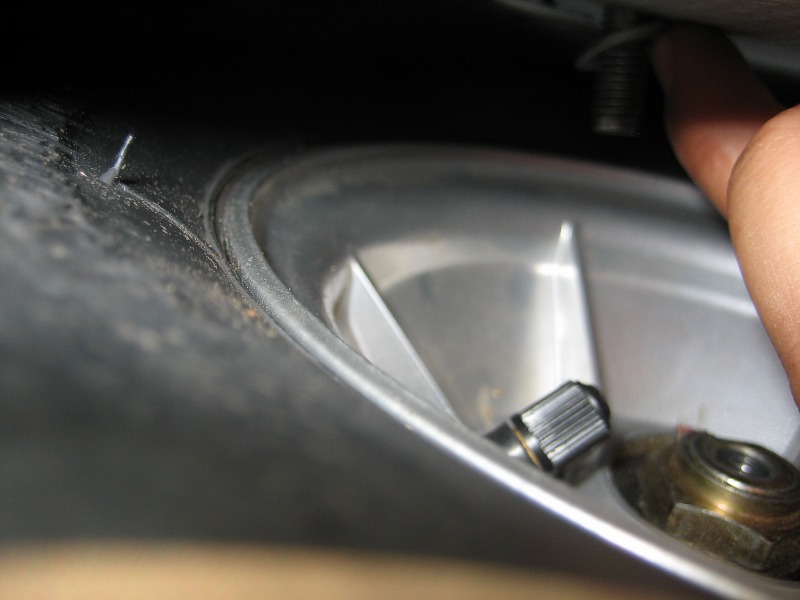 ... as can be seen in this photo also note: you can see the threaded hole in the center of the axle in this photo
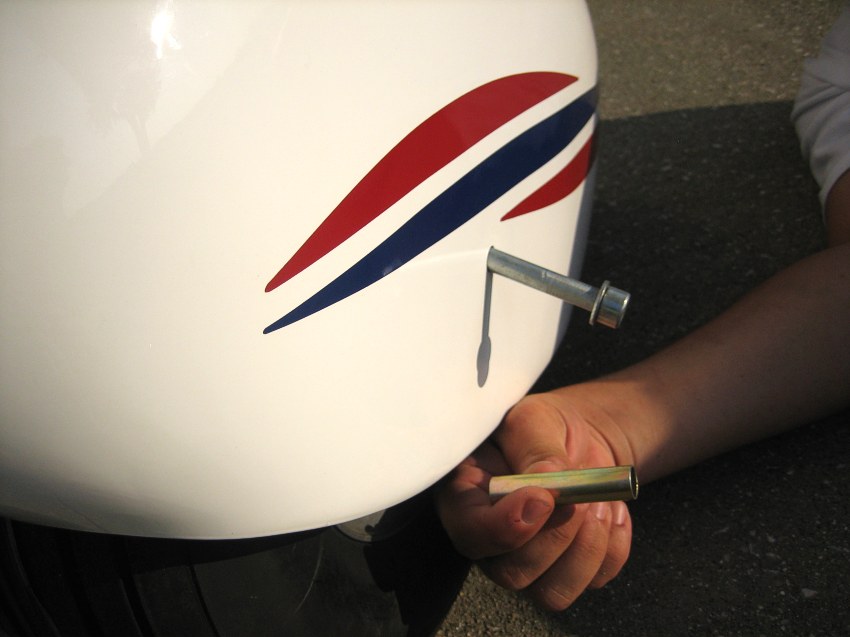 then, reach up under the wheel pant and put the spacer on the bolt (and then push the bolt further in)
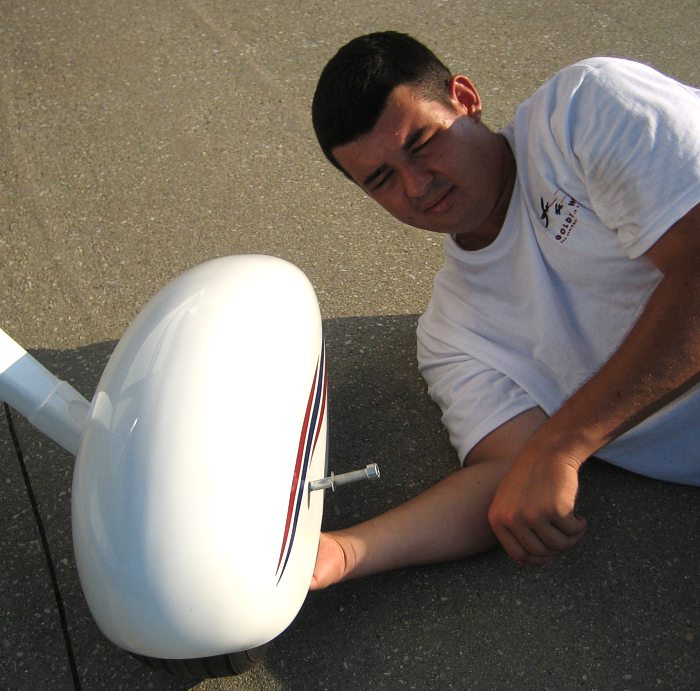 start screwing the Allen head bolt into the threaded hole on the axle -- by hand, to be sure to not cross-thread the bolt
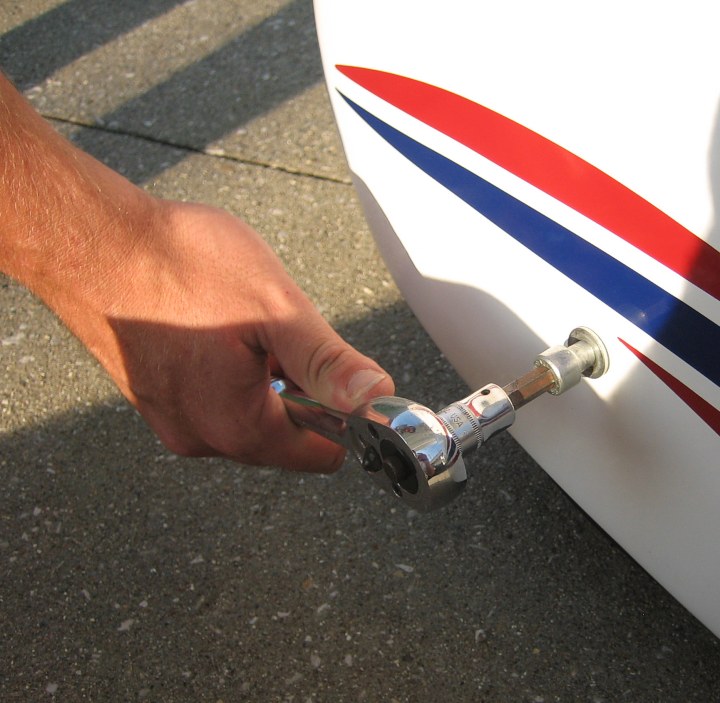 once the Allen head bolt has been started by hand, you can tighten with an 8mm Allen wrench (a socket/ratchet is shown in this photo but a small Allen
wrench hand tool can be used but more effort is required)
once the Allen head bolt has been started by hand, you can tighten with an 8mm Allen wrench (a socket/ratchet is shown in this photo but a small Allen
wrench hand tool can be used but more effort is required)